
How to Install FRP
Unloading storage tanks and moving them to their final locations can be major operations. Before installing a tank, make sure the ground where it will be placed is level so that the pressure is evenly distributed within the tank. Concrete, sand, or pea gravel work well as flooring substrates. It is very important to make sure the floor has no jagged edges that the tank will sit on.

You will need a forklift or front-end loader to position the tank and place it upright once it is unloaded. Know how much each tank weighs and make sure you have a forklift that can handle the weight. To move, strap tanks to the forklift, and use spotters to bring them indoors.
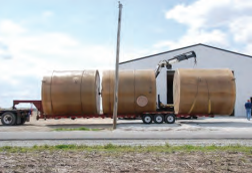


Knuckle booms that unload tanks from semi trucks make your job much easier. Each tank will have lift points near its top and along the sides, and can be physically lifted straight up, and then placed on the ground. The boom operator then switches the hooking to the top and brings the tank up vertically to allow the forklift to move the tank indoors.

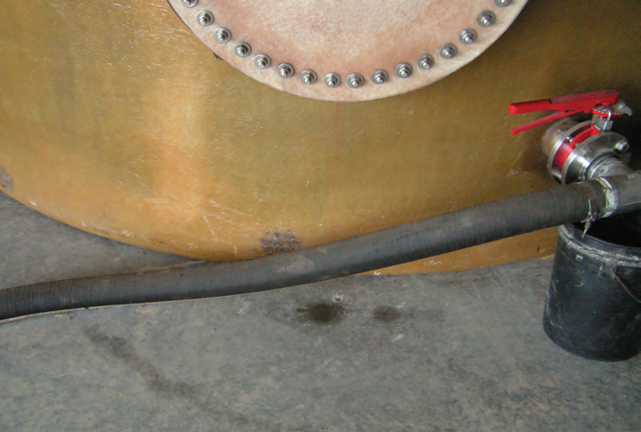
Valves and other plumbing fixtures are installed after tanks are delivered. While there are many choices for valves and fittings, be sure to chose materials that are compatible with the materials that will be stored in the tank. In addition, ask the manufacturer how much compression force (torque) you can apply on the fiberglass as you tighten up the fittings and valves. Once the system is plumbed, fill one of the tanks with water for a day or two, and check for leaks around the plumbing or through the tank. Once a tank passes this test, simply pump the water from that tank into the next tank and repeat the process until you evaluate all your tanks.
If the storage tanks remain outdoors, tie them down to prevent the wind from tipping them over and potentially cracking them or damaging valves. Again, make sure to secure the tanks to the ground with tie downs — just a couple of inches of rain accumulating in an outdoor containment area can lift tanks. However, be careful not to over tighten the tie downs. These are glassed in like all other additions to the tank, and it’s possible to tighten the cables so much that they pull the metal hooks away from the tank. Tighten the cables just enough to keep the tanks in place during a storm. Check the cables annually for tension, and retighten as needed.
